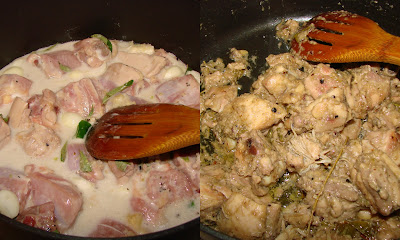
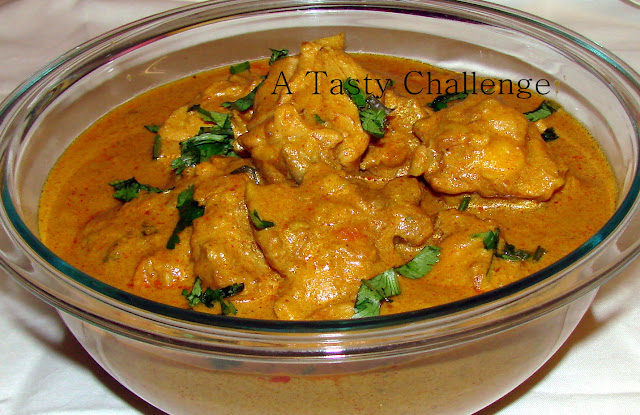
This is my 'everyday Chicken Curry' and the recipe comes from my Mother. Of course, there are some differences in the method of preparation between our dishes, but tastes almost the same. So here is it...
- Oil…………………………........4 Tablespoons
- Red Chilly Powder….........1 ½ Teaspoons
- Coriander Powder….........2 Teaspoons
- Turmeric Powder…….......1/2 Teaspoon
- Garam Masala Powder…3/4 Teaspoon (Homemade is the best)
- Ginger Garlic Paste……..2 Teaspoons (Instead use 6 big cloves of Garlic and an inch Ginger crushed)
- Chicken…………………........650 Grams (Cut into medium sized pieces)
- Onion sliced Thin……......1 ¼ Cup
- Curry Leaves……………....2 Sprigs
- Tomato sliced……………...½ Large/ 1 medium
- Thick Coconut Milk……...1/4 Cup
- Coconut Oil………………...1 Tablespoon
- Mustard Seeds…………....1/2 Teaspoon
- Shallots sliced thin……...2
- Curry Leaves……………....1 sprig
- Heat 2 Teaspoons of Oil in a pan on medium low heat and fry Red Chilly Powder, Coriander Powder, Turmeric Powder and Garam Masala Powder for a minute or until fragrant. Do stir throughout to avoid burning.
- Add the Ginger Garlic paste to the fried Masala Powder and cook well stirring continuously for about another minute or till the raw smell is gone.
- Add the Chicken and Salt; mix well on high heat and let it fry for a minute.
- Pour a cup of Water to the Chicken; mix well; cover the pan and let it boil. Once boiled, lower the heat to medium and cook for 15 minutes.
- During that time, heat 2 Tablespoons of Oil in another pan on medium high heat and saute the thinly sliced Onion and Curry Leaves till the Onion is golden brown. Stir only now and then in the beginning but do stir continuously towards the end to ensure even browning and to avoid burning. (Please check the picture to know the level of browning.)
- Once the Onion is browned, mix it with the simmering Chicken together with the Tomato and let it continue cooking till the Chicken is tender for about another 15- 20 minutes.
- Once the Chicken is nicely cooked and the gravy is reduced to a desired consistency, add the Coconut Milk and mix well. Check for Salt and add more if needed.
- Switch off the heat and prepare the tempering.
- Heat Coconut Oil in another pan on medium high heat and splutter the Mustard seeds.
- Add the sliced Shallots and Curry Leaves; fry till they are golden brown and pour this on top of the prepared Curry along with the remaining Oil.
- Sprinkle a pinch of Garam Masala Powder and a sprig of Curry Leaf on top of the Curry and keep it covered for 30 minutes. Mix well before serving it warm with Rice, Flat Breads, Appam, Idiyappam or Bread.
- Burning the Spice Powders or the Onion will ruin the taste of this dish. So do take extra care during those steps.
- Sometimes the Tomato will not be able to give the necessary sourness to the Curry, especially if it is very ripe. In that case add a few drops of Vinegar towards the end. The Curry shouldn’t be sour but you will know that something is missing if a bit of sourness is not present. So adjust according to your taste.
- The time you keep the prepared dish covered at the end is called ‘Pathrapakam’ as per the elders, which means the dish should sit in the pan in which it is made for some time to get the real taste.
- Sauteing Onion side by side with Chicken will reduce the total time of preparation.
- You can add cubed Potato to this curry along with the fried Onion if you like. In that case add some Salt together with the Potato . Also reduce the resting time at the end to 15 minutes to avoid Potatoes from being over cooked. Don’t let the Potato over cook or the taste of the Curry will change. (The picture at the end has Potatoes in it.)
- You can avoid tempering at the end, but doing it, especially in Coconut Oil, gives a very desirable smell and taste to the dish.

Make it, enjoy the deliciousness and
serve it to your family with love…


